Rustler Paperbag Puppet
“Reach for the sky, this here’s a stickup.” Saddle up your imagination and make this fun Old West Rustler Puppet. This easy-to-make kid craft is super simple - just cut out the shapes and glue them on – Yee Haw! Try out our other Kidfunideas Old West theme activities too!
What you'll need:
-
Paper bag
-
Construction Paper: Brown, Black, Red, White, Light Blue
-
Black Marker
-
Scissors
-
Glue Stick
-
Tape
-
Rustler Puppet Pattern
How to make it:
-
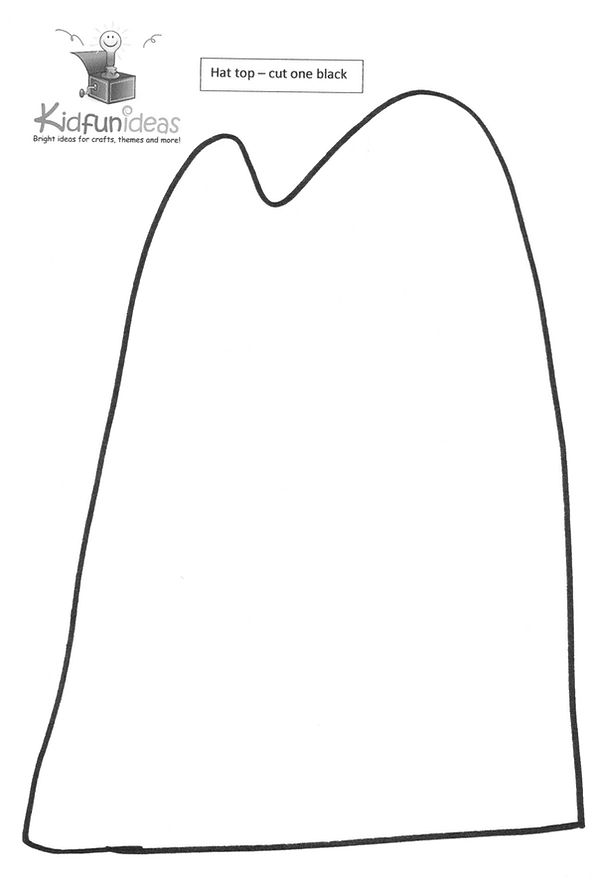
Print out the Rustler pattern and cut out the shapes from the construction paper color indicated on the pattern.
-
Start with the pants. Once you have cut out the pants shape, make little snips with your scissors all along the outside edges of the pants – this will be fringe on the pants. Glue the pants to the bottom of the bag lining up the bottom of the pants with the opening of the bag.
-
Attach the boots to the bottom of the pants with a glue stick.
-
Attach the vest to the bag, tucking it up under the fold of the paper bag. Glue into place.
-
Next, attach the holsters to the gun tops with tape and glue them into place on either side of the pants. Secure them with tape on the backside if needed.
-
Draw in the eyes, nose, and mouth on the facepiece and glue the facepiece to the folded piece of the bag.
-
Add the bandana piece to your Rustler. You can either add it directly to the facepiece or tuck it under the folded flap, depending on the look you are going for.
-
Next, glue on your mustache.
-
Assemble the hat with the brim in front. Tape it in the back and glue between the pieces. Attach the hat to the facepiece. You can wear the hat down low covering the eyes a bit or more on top. Secure with glue to the face and tape in the back.
-
Last, add your glove to each of the arm pieces with glue. Tuck the arms in the side folds of the bag on either side and secure with tape.
-
That’s it – done. You can add details on the hat or bandana if you like.
Easy print version


